Moving is stressful enough on its own, and when you also have to worry about cleaning, it can seem a bit overwhelming. Still, if you want your full bond back, a proper end-of-tenancy clean-up is essential.
Landlords expect the property to be returned in top condition. That means spotless floors, shining appliances, and no suspicious smells hanging around.
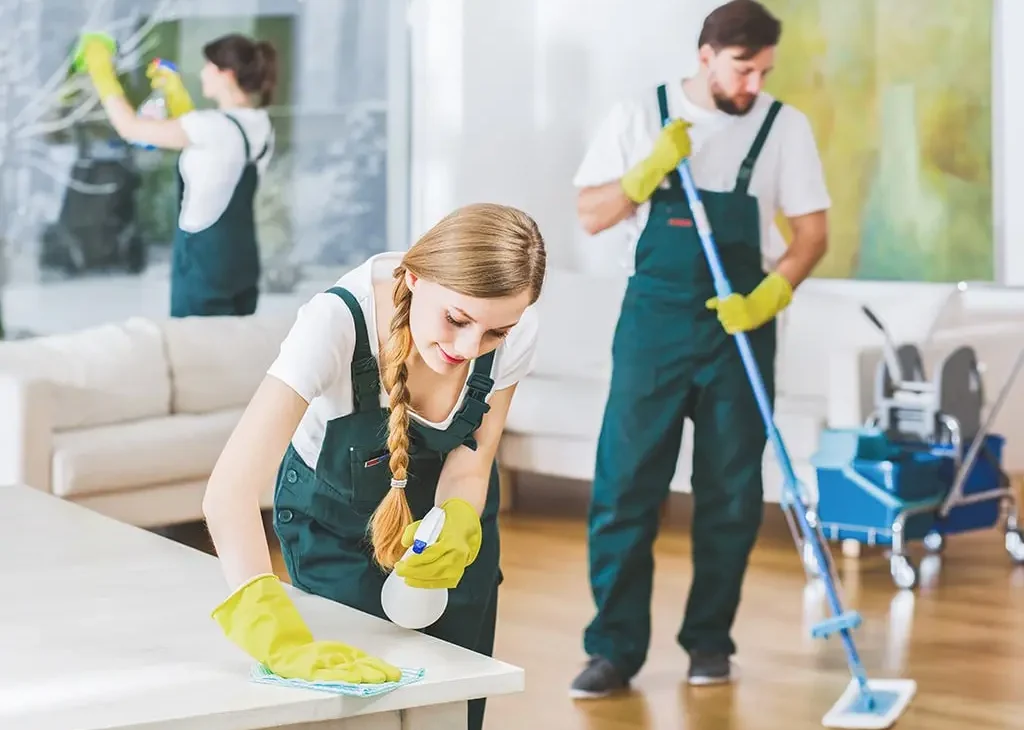
But what does end-of-tenancy cleaning include? Don’t worry, this guide breaks the job down room by room, so nothing gets missed and you’re not scrambling the night before you hand over the keys.
Living Room
The living room makes that initial impression, so take some time to make sure it’s immaculate. Begin with the carpets, but keep in mind that a hasty vacuum job won’t handle stains or lingering odours. Instead, make sure to go over every section multiple times.
If you don’t mind spending some extra cash, steam cleaning digs out embedded grime and refreshes everything, even upholstery. So, give it a try by renting a machine from your local store.
Don’t forget to dust everywhere—those tall shelves, baseboards, and overhead fixtures that everyone often overlooks. Clean all surfaces, whether they seem grimy or not, as smudges can appear where you least expect.
Moreover, the windows need to sparkle inside and out. Dirty glass doesn’t let in natural light and makes the room feel drab. If you spot marks on the walls or doorframes, clean them gently with something safe for paintwork.
Decluttering is just as important as cleaning. Clear out magazines, cables, and bits you no longer use.
Eco-conscious products are your best bet if you want to avoid strong smells and still get great results. A basic checklist helps, too, especially when you’re juggling boxes and to-do lists.
Kitchen
The kitchen needs serious attention. It’s usually the toughest room to get clean because of grease, grime, and old food lurking in corners. To get impressive results, start with the oven and fridge. Use a decent degreaser and give them a solid scrub until they look brand new.
Counters and sinks come next. Wipe them down properly and get into the corners where gunk builds up. Microfibre cloths are brilliant for this because they leave no streaks and grab the smallest crumbs.
While you’re at it, check the drawers and cupboards. Clear out every last crumb, wipe inside thoroughly, and don’t forget the tops of cabinets where dust collects.
For tiles and grout, a simple mix of vinegar and bicarb works wonders and won’t cost much.
Bin any expired food and tidy the pantry. It clears space and freshens the whole room. Create a cleaning timeline to avoid unexpected last-minute tasks. The cleaner your kitchen, the smoother the outcome of the inspection will be.
Bathroom
The bathroom says a lot about how clean a home really is. It needs to feel fresh, not just look neat. To do this, start with taps and showerheads. Vinegar cuts through water marks and mineral build-up quickly and doesn’t require elbow grease.
Use eco-safe products to scrub the toilet, sink, and bathtub. Choose a product that’s strong enough to kill germs without being so harsh as to leave behind chemical fumes.
As for the mirrors, they should shine and be free of streaks. A glass cleaner or a vinegar spray does the job nicely.
Keep in mind that mould loves damp grout and sneaky corners. To get rid of them, mix vinegar with warm water and scrub those patches until they disappear. Gloves are a good idea here. They’ll protect your hands and stop germs from spreading.
Clear out everything from the bathroom cabinets and bin anything expired or nearly empty. To give the space a clean finish, wash any bathmats and towels, or consider replacing them with fresh ones. Finally, work from top to bottom to make sure you don’t clean something twice.
Bedroom
The bedroom should feel calm and well-kept. Start by vacuuming the floors and carpets properly. If the carpet still smells dusty or looks worn, a steam cleaner can give it a second wind.
Dust everything from wardrobes to skirting boards to bedside lamps, and don’t skip the tops of furniture or under the bed.
As for your bedding, wash or dry-clean all those linens. That includes pillows and covers if they’ve been sitting for a while. If the mattress belongs to the landlord, give it a vacuum, too.
Wall marks can ruin an otherwise spotless room. So, use a gentle cleaner that won’t strip the paint but still lifts fingerprints and stains.
While packing, get rid of any clutter you’ve been holding onto by donating clothes or unused items and keeping only what matters.
Hallways and Stairs
These areas get overlooked, but collect the most mess. So, vacuum all the way through, paying attention to high-traffic areas and corners where dirt builds up.
Dust the light fixtures, bannisters, and skirting boards. They’re often the first things people touch and the first to show grime. If there are marks on the walls, use a soft cloth and a gentle cleaner to wipe them down.
For timber or tiled floors, a light polish will bring back their shine. It’ll also make the space feel newer and more welcoming. Additionally, hallways often attract clutter, so clear out anything that doesn’t need to be there, especially shoes and bags.
In any case, start at the top of the stairs and work down. That way, you won’t track dirt back over clean steps.
Final Touches
Once every room has been done, give the place a full walk-through. Check under the furniture, behind doors, and anywhere dust might be hiding. These little spots can trip you up during an inspection.
Several drops of natural extract or a quick spritz of an air freshener create a welcoming scent. Shifting furniture around a bit can highlight the room’s dimensions, particularly if you’re snapping pictures for documentation.
Speaking of photos, snap a few after you’re finished. They can come in clutch in case there’s a disagreement later. These final touches can be the difference between getting your deposit back and getting expensive bills.
If the space still looks dull after all that, consider calling professional end-of-tenancy cleaners to bring it up to scratch. Trust us, it’s better to pay a small fee now than lose a big chunk of your bond.
Conclusion
Now that you’ve got the know-how, it’s time to put it into action. End of tenancy cleaning isn’t just about ticking boxes. It’s your final chance to make a lasting impression and protect your bond.
So, don’t rush it. Clean with care, room by room, and give each space the attention it deserves. Whether you’re doing it solo or getting help, aim to leave the place spotless and even better than you found it!